How to create Branded Search campaigns
To create a NewProgrammatic ad campaign, please complete the following steps.
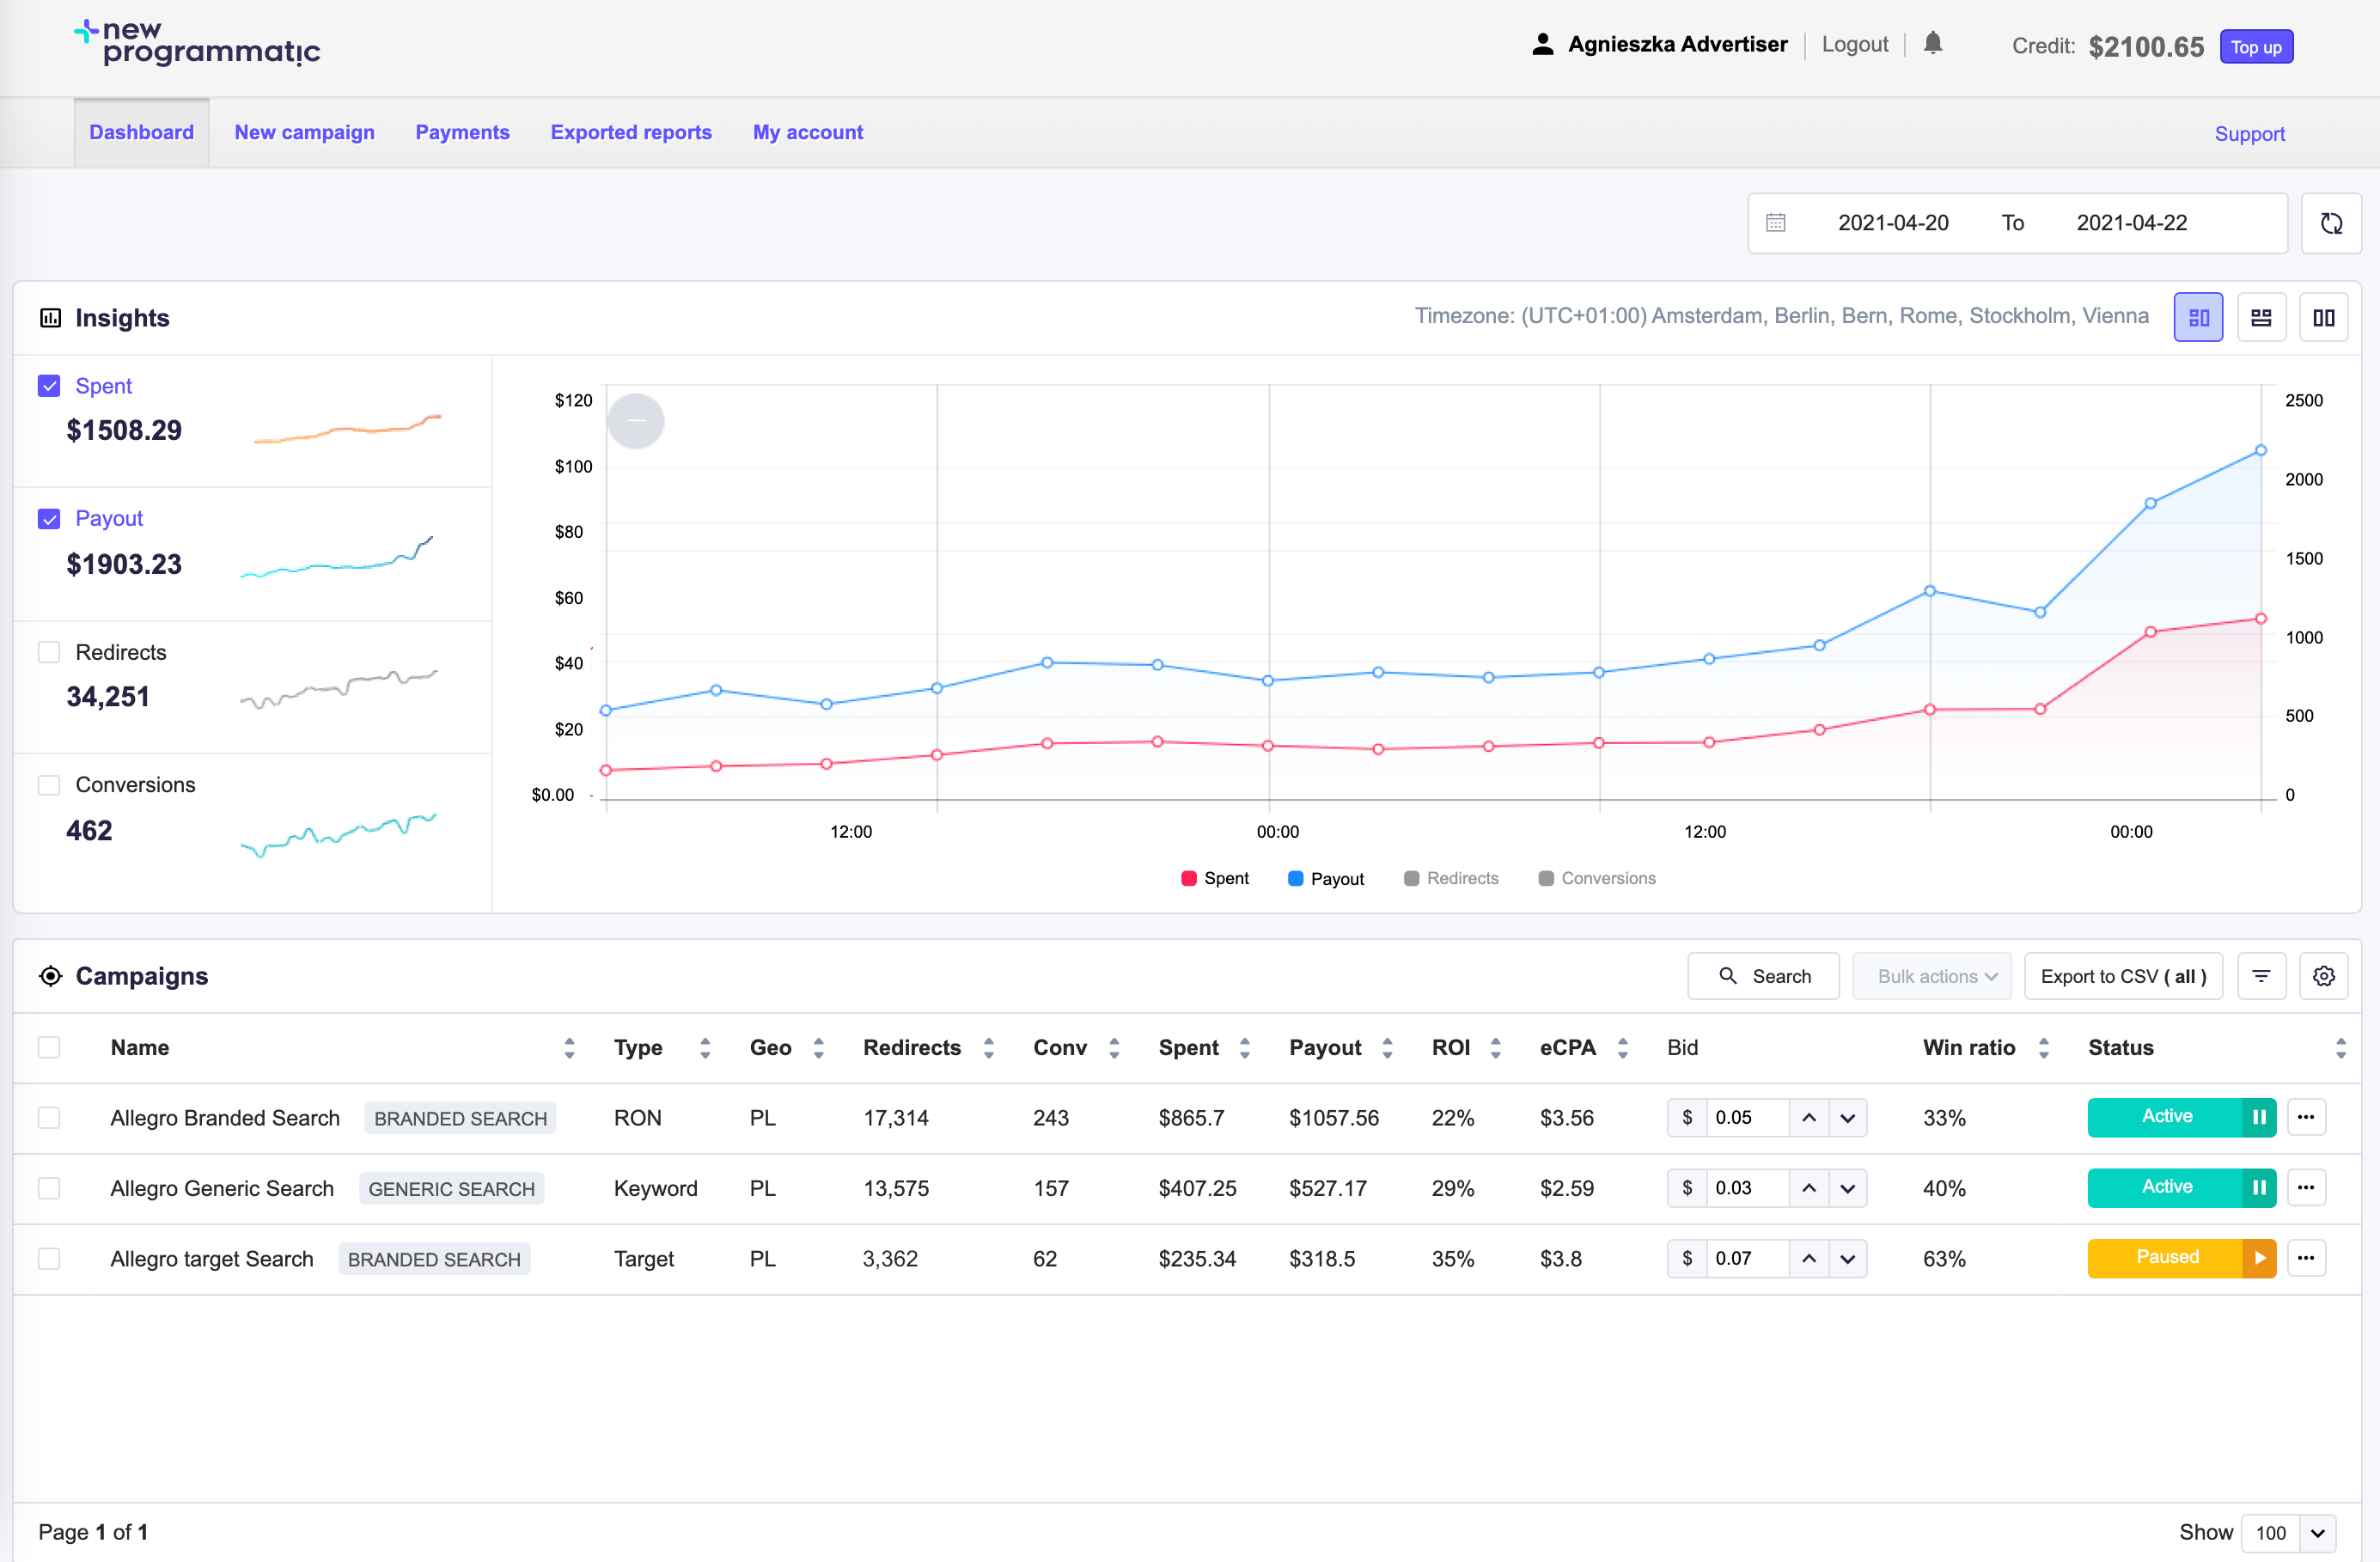
Log in to your account and click on the New Campaign button.
A new campaign creation form will be then displayed. Please continue filling all the required fields.
Select the type of ad format for your campaign. You can choose between:
Branded Search: allowing you to redirect users looking for your brand directly to your brand’s website.
Generic Keyword Search: allowing you to target both generic keywords and brand names and redirect users to relevant pages.
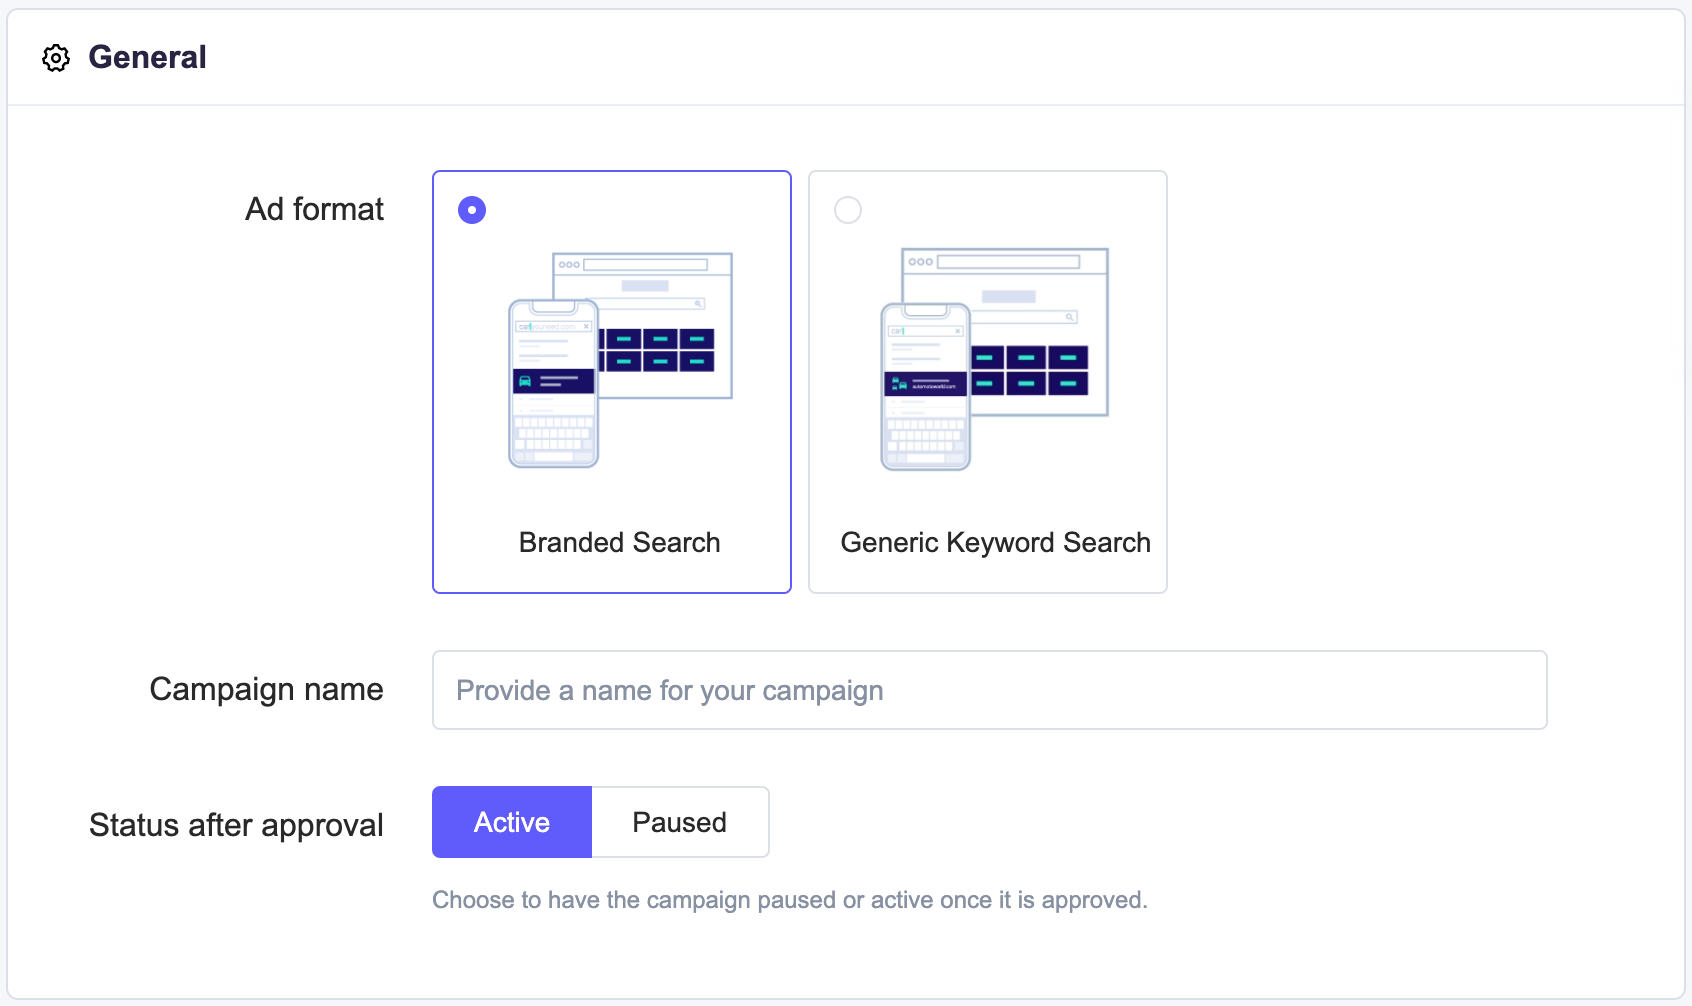
Then provide a name for the campaign in the Name text field.
Select the status after approval. This defines if your campaign will automatically run once approved, or will wait until you manually activate it.
Warning
Campaigns approval times:
Monday - Friday: 8 am - 8 pm CET
Weekends: 8 am - 4 pm CET
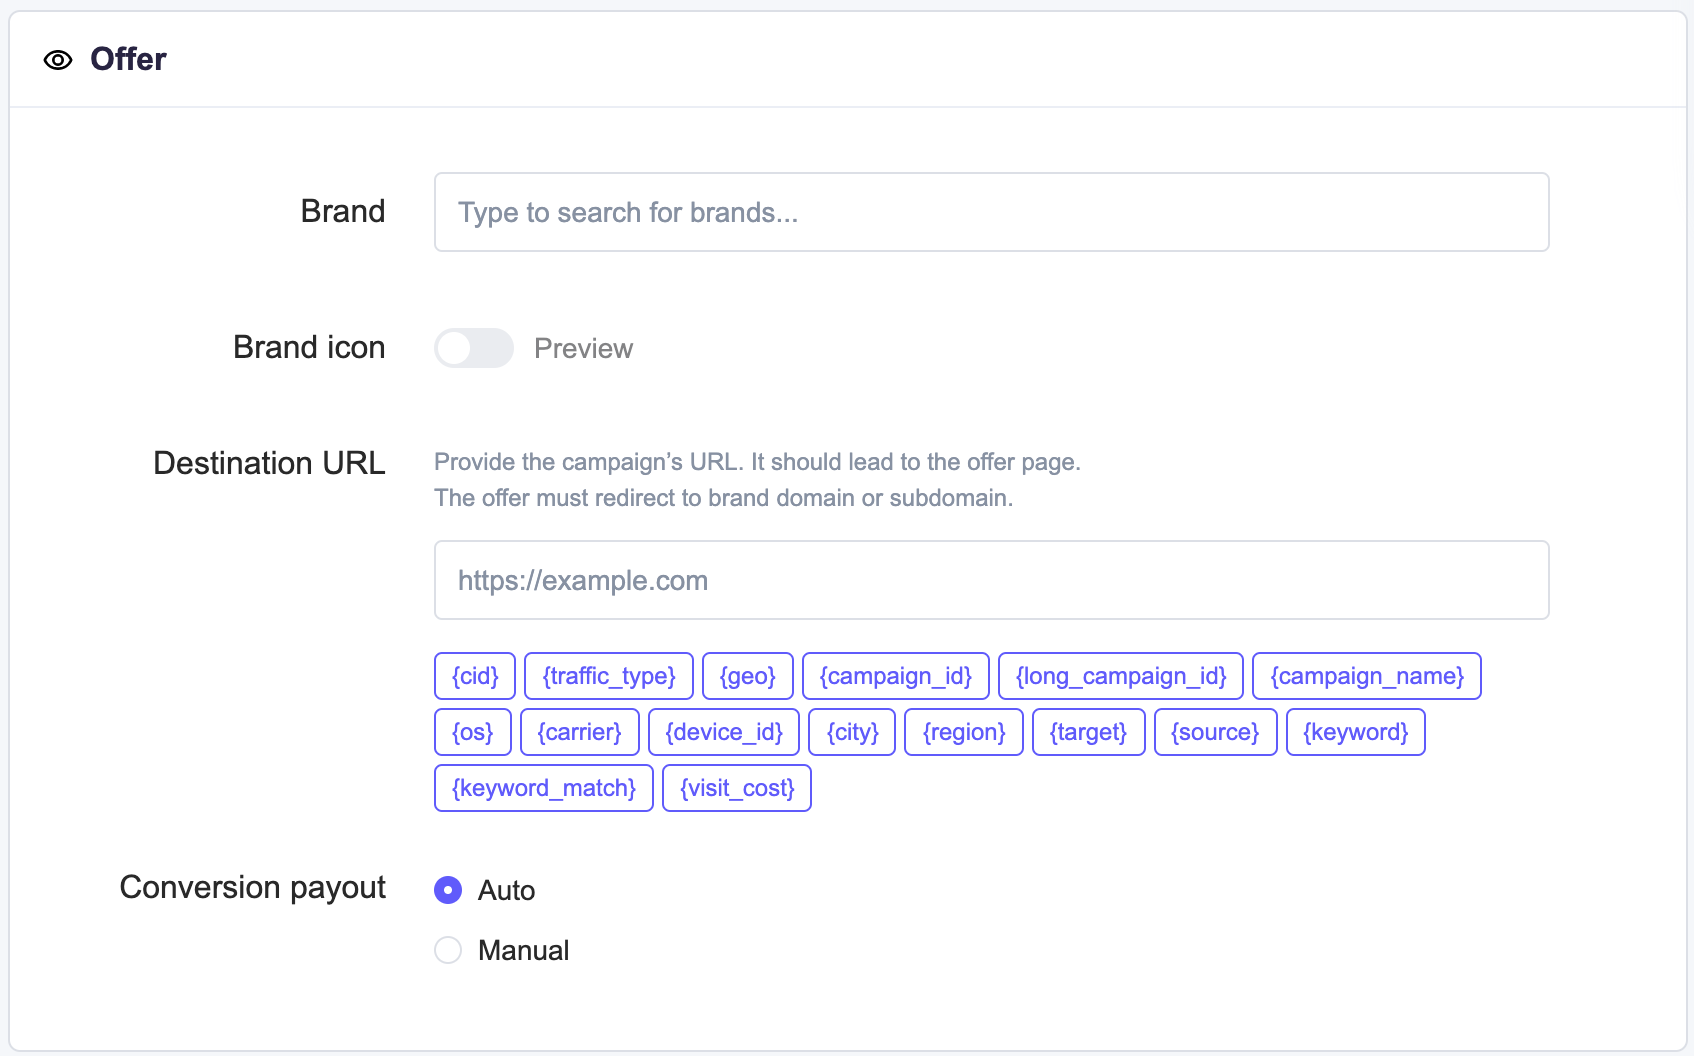
Set up your offer details.
Select the brand you want to advertise from the Brand drop-down menu and view a predefined icon.
You can also add custom brands by typing in the Custom option. In that case, you will have to provide additional information such as:
Brand name
Brand domain
Brand icon
Warning
The option of adding custom brands is available during the campaign creation process only. Once the campaign is saved, you won't be able to add a custom brand for this campaign.
Note
EXTRA BRAND KEYWORDS:
We’ve enabled additional brand keywords to be automatically added to Branded Search campaigns based on their brand URL and the targeted country. This is to make sure that our advertisers don’t miss out on relevant keywords due to various country domains.
For example, if a Brand Search search campaign has the following setup:
Advertised brand Nike
Targeted GEO Poland
... in addition to standard keywords like ‘nike’ and ‘nike.com’, such campaign will also have extra brand keywords added by default.
The NewProgrammatic system will also add keywords like ‘nike.pl’, ‘nike.com.pl’ and ‘pl.nike.com’.
Extra brand keywords can be paused by advertisers at any time.
Provide a destination URL in the Destination URL text field. Include all necessary tracking tokens.
Warning
Choosing a Branded Search option means users MUST end up on the website of an advertised brand.
Set the payout options.
Note
If the payout from the conversion is sent by the offer owner/brand, it can be tracked automatically by choosing the "auto” option. If not, you can set a manual payout amount to be triggered on each conversion.
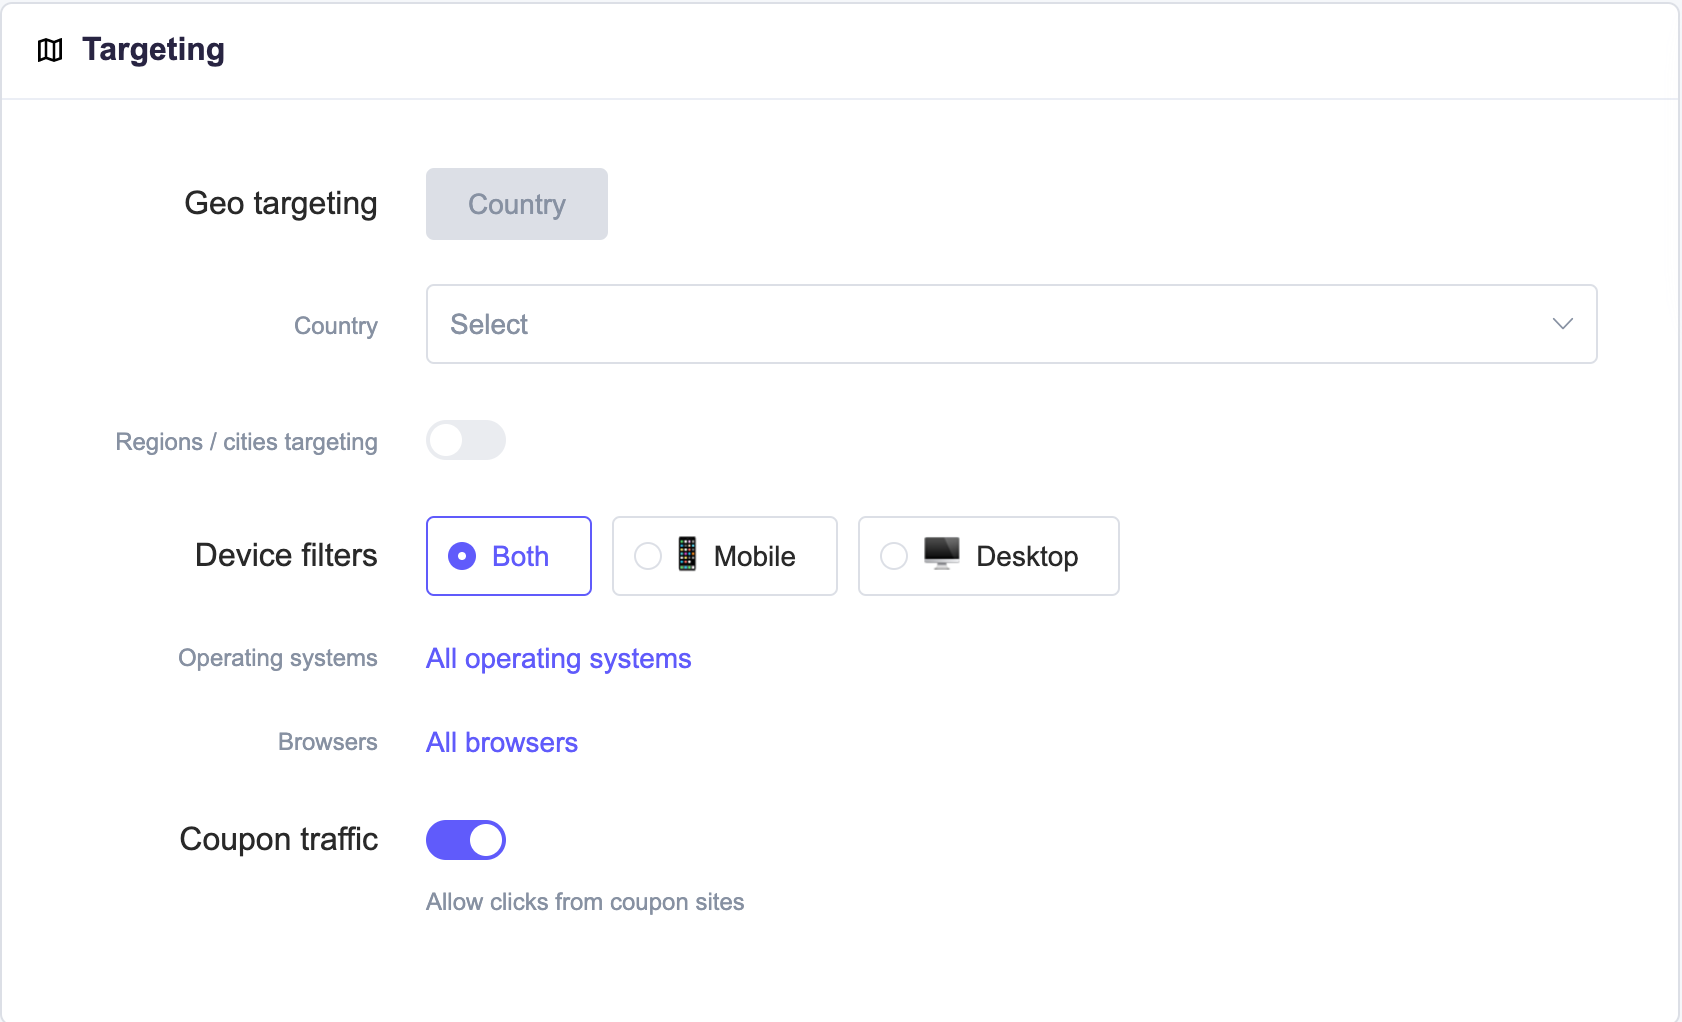
Select a country you want to target.
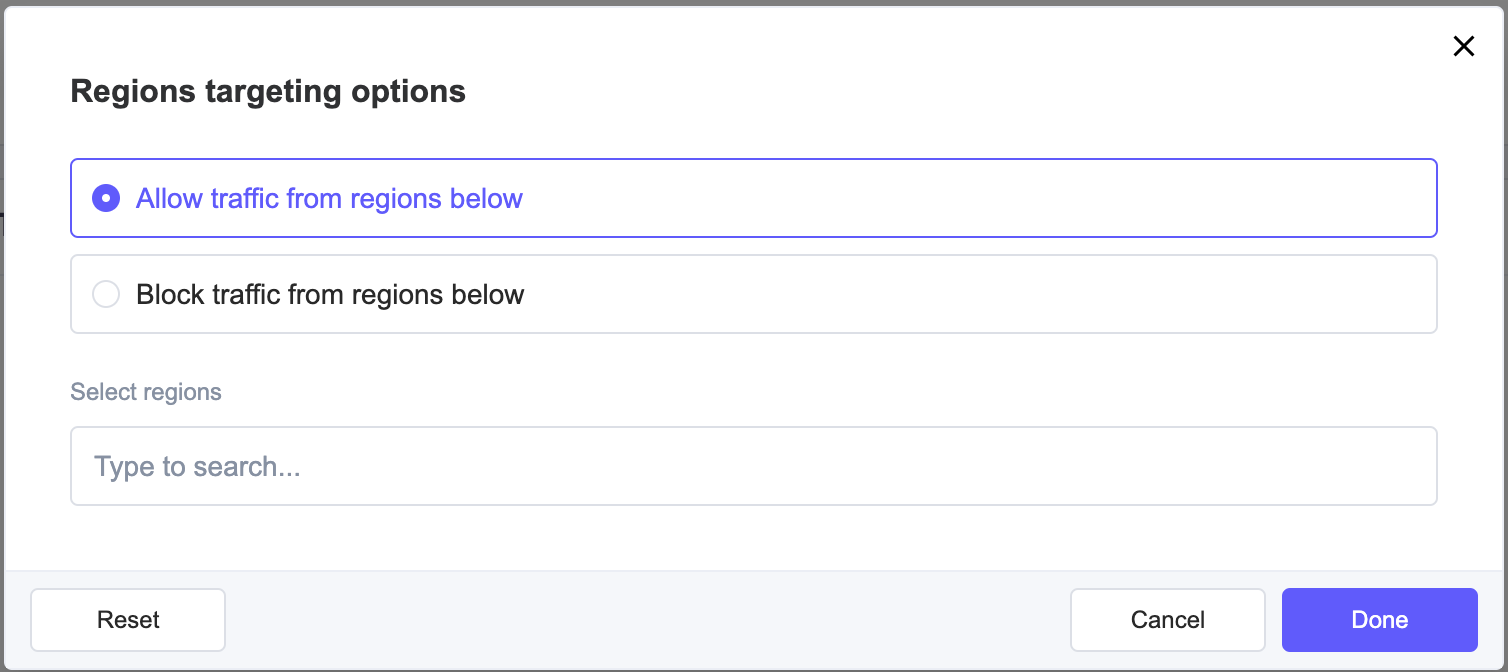
OPTIONAL: Enable the Regions/cities targeting toggle to include or exclude certain regions or cities.
Click on No regions, provide a name or names of chosen regions, and decide if you want to include or exclude them.
Warning
Once you do so, you will be able to only block traffic from selected cities.
Click on No cities, provide the names of cities, and decide if you want to include or exclude them.
Warning
Once you do so, including or excluding regions will be disabled.

OPTIONAL: Set up device filters and OS and browser targeting options.
Coupon Traffic targeting in Branded Search campaigns has been enabled by default, so if you do not wish to receive it please disable the toggle.
Note
Coupon traffic comes from sites aggregating various promotions and promo codes for brands, e.g.: http://coupons.businessinsider.com/
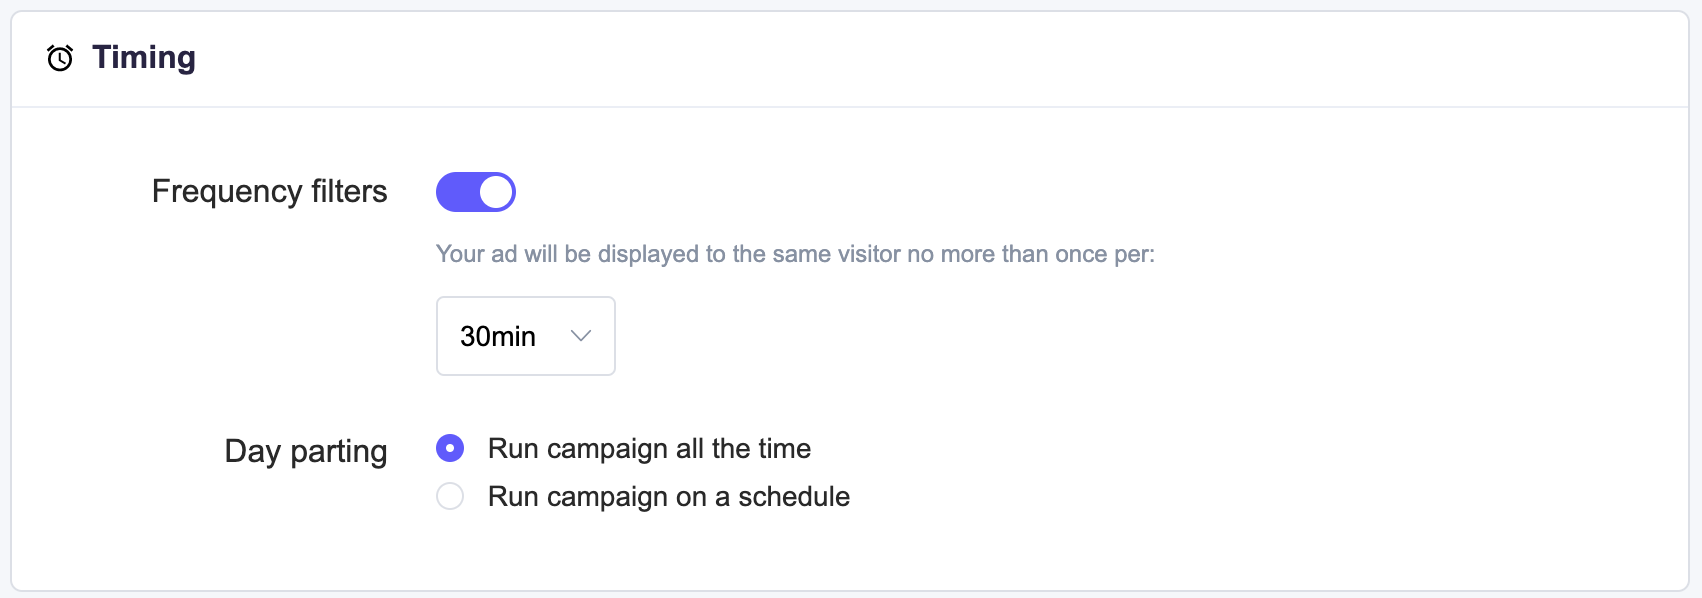
OPTIONAL: Set up frequency filters by turning the toggle on or off and selecting the frequency value from the drop-down menu.
OPTIONAL: Set up day-parting options that define the schedule of your campaign's run.
Tip
Sticking to the default value ensures the best combination of volumes and profitability.
Choose the campaign type.
Warning
Once you choose the targeting type and save your campaign, you can’t change it in the edit mode.
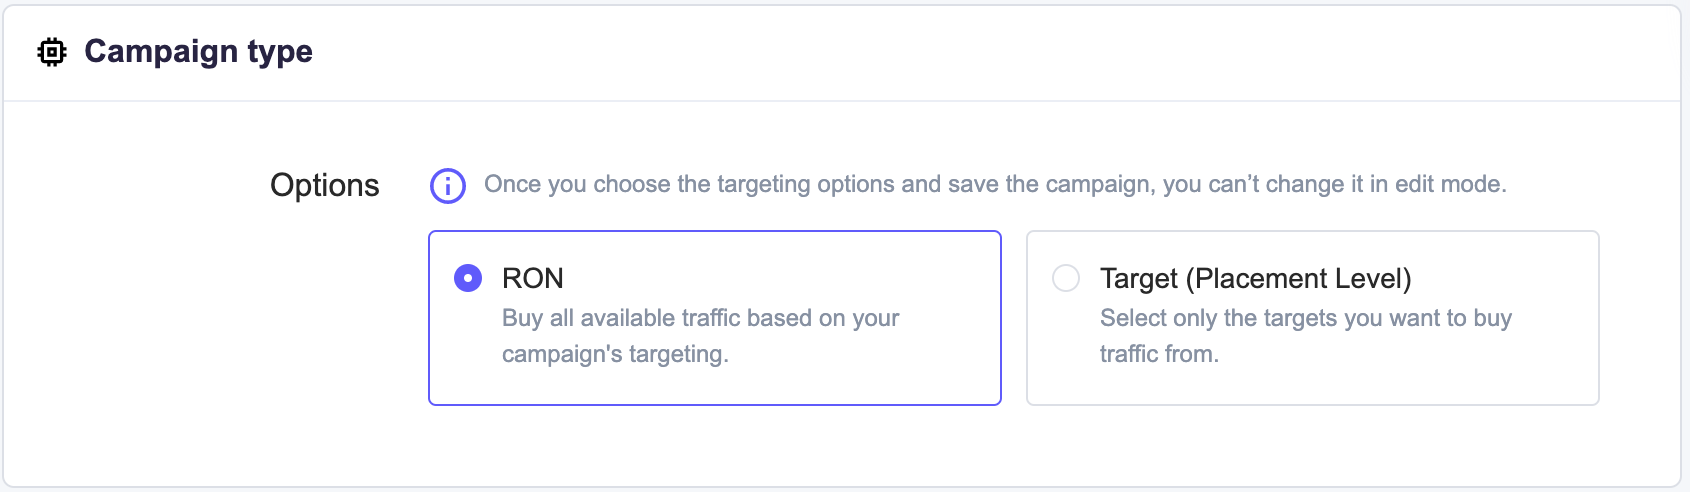
There are two options available:
RON (Run on network) which allows for buying all available traffic based on the campaign targeting setup.
Target (Placement Level) which allows you to buy traffic from selected targets only. Targets can be added after saving the campaign creation form.
For instructions go to section Managing Campaigns > Adding Targets.
Note
RON campaigns are recommended when launching new campaigns. This is the broadest targeting type available.
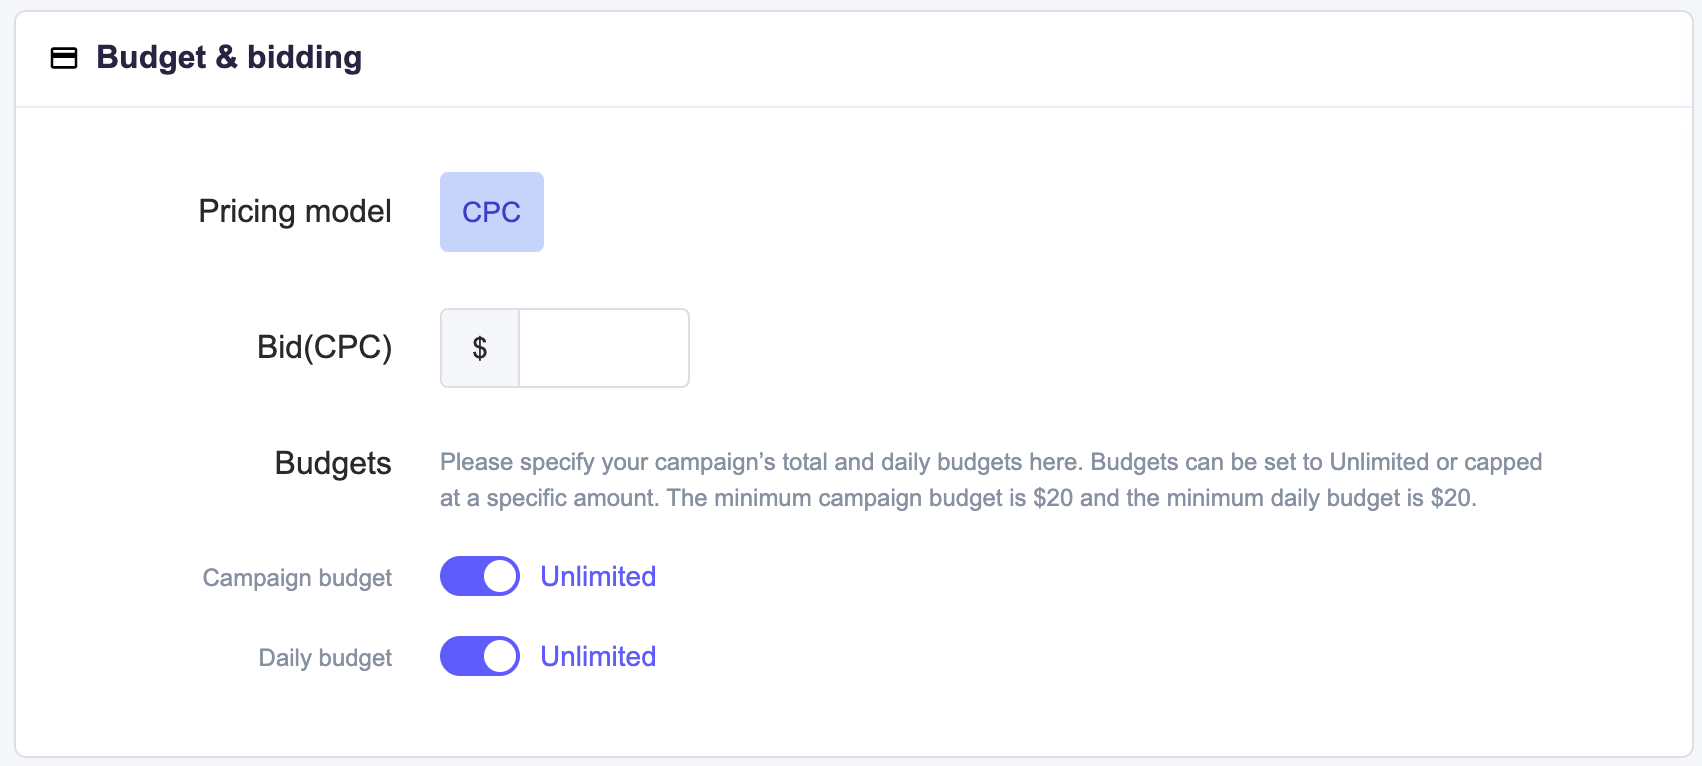
Provide a bid value in the Bid text field.
Set your campaign and daily budget options.
Tip
The minimum recommended daily budget is $200. The testing period should last 3-5 days
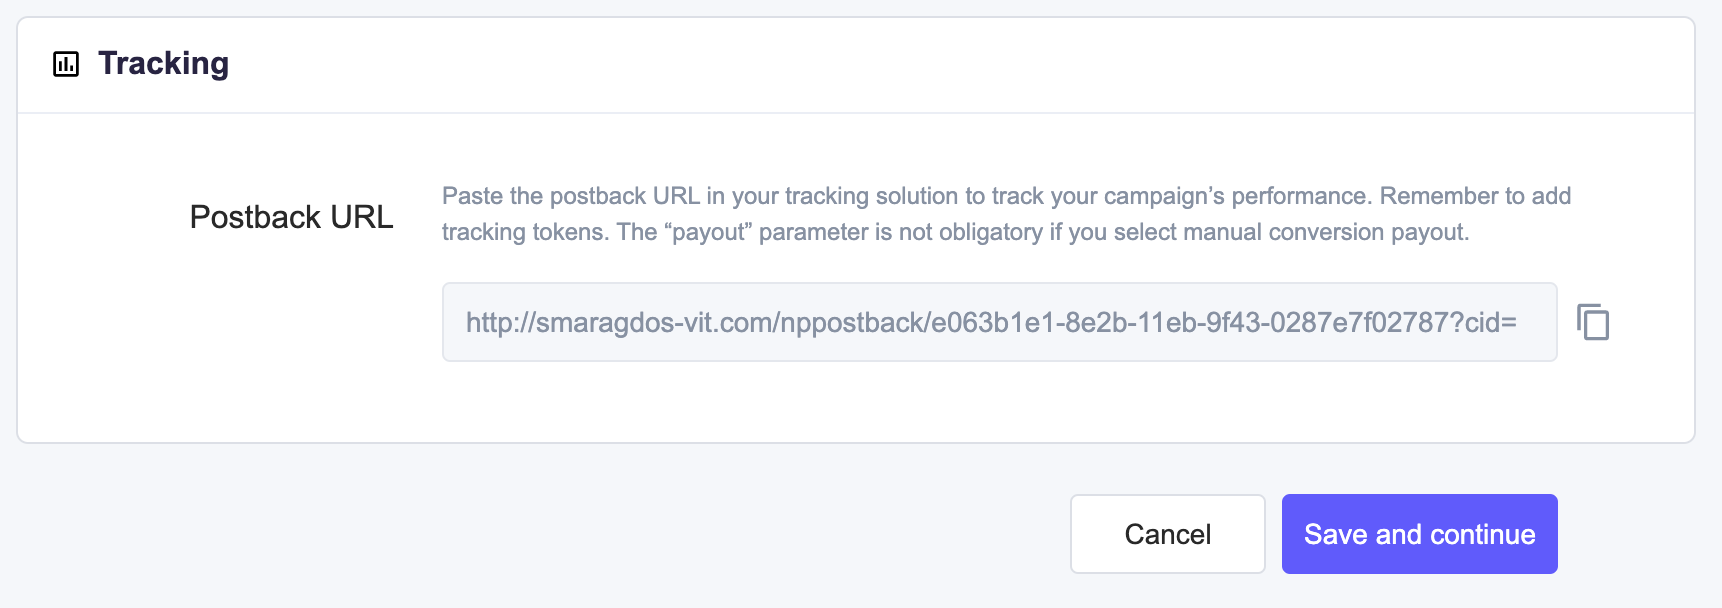
Copy the postback URL to the clipboard, so you will be able to provide it to your tracker or affiliate network.
Tip
Use our postback for tracking, don’t forget to append the correct tokens to your postback.
Click the Save and continue button.
Once saved, your campaign will be visible in your main dashboard, under the Campaigns section.
Congratulations! For information on Managing Campaigns please see the link.